Deploying Your First Laravel Application: Tools and Services
Unlock the power of Laravel: A beginner-friendly guide to deploying your first application with ease. Gain confidence and navigate the process with expert tips and recommended tools.

Let's get started
I vividly remember the countless hours I spent re-creating the server multiple times before my Laravel application finally went live! The process seemed never-ending as I grappled with pivotal decisions like selecting the right server hosting provider – should I opt for Digital Ocean, AWS, or maybe even Heroku? But that was just scratching the surface. Installing PHP, finding the ideal database hosting solution, and obtaining an SSL certificate felt like monumental tasks. The sheer weight of unanswered questions left me feeling overwhelmed.
Speaking of Laravel, did you know that a staggering 75% of developers prefer using Virtual Private Servers (VPS) to host their Laravel applications, as revealed by the 2022 State of Laravel survey? If you're embarking on your Laravel development journey, setting up a production environment may appear daunting.
But fear not! In this article series, we'll guide you step-by-step, saving you valuable time and effort by bypassing the trial and error process. By the end of this journey, you'll gain a crystal-clear understanding of the essential elements involved in deploying a Laravel app to production.
Now that we're ready to embark on our Laravel deployment journey, let's explore the common requirements that you should consider.
Common Requirements
The first crucial requirement is a platform to host our application. We have various options such as a traditional server setup, running it as a serverless app, or utilizing Docker and Kubernetes. For the sake of simplicity, let's focus on the easiest approach – hosting the app on a server. We need to consider factors like the desired PHP version and the minimum server requirements, including CPU, RAM, and disk space.
Next, we need to address the need for a database to store our application's data. Laravel supports popular relational databases like MySQL, PostgreSQL, and MariaDB. There are different hosting options available for databases, allowing flexibility in choosing the most suitable one for your needs.
To enhance performance and retrieve data quickly, a cache is often necessary. Laravel offers a convenient API that supports various caching options, such as Redis or Memcached. By caching certain data, we can optimize the overall performance of our application.
In some cases, you may have specific background processes to handle, such as sending emails, video processing, or generating reports. To efficiently manage these tasks, you'll need to set up a queue system. This can involve either dedicating a separate server to handle the queue or running it on the same server as your application.
Additionally, it is common to require an email service to send emails to your users. Setting up an email service allows you to offload the responsibility of sending emails from your application. There are various email service providers available that integrate seamlessly with Laravel.
Finally, when it comes to handling file uploads such as images, videos, or other types of files, file storage is a crucial requirement. Laravel provides support for various file storage options, including local disk storage, cloud storage services like Amazon S3 or Google Cloud Storage, or even a combination of both. Choosing the appropriate file storage solution depends on factors such as file size, scalability, and cost considerations.
By addressing these common requirements, you'll lay a solid foundation for deploying your Laravel application in a production environment. Now, let's explore the tools and services that can assist us in this process.
Tools and services
When it comes to fulfilling the various requirements of a Laravel application, there are several tools and services that I commonly use. Let's explore them one by one:
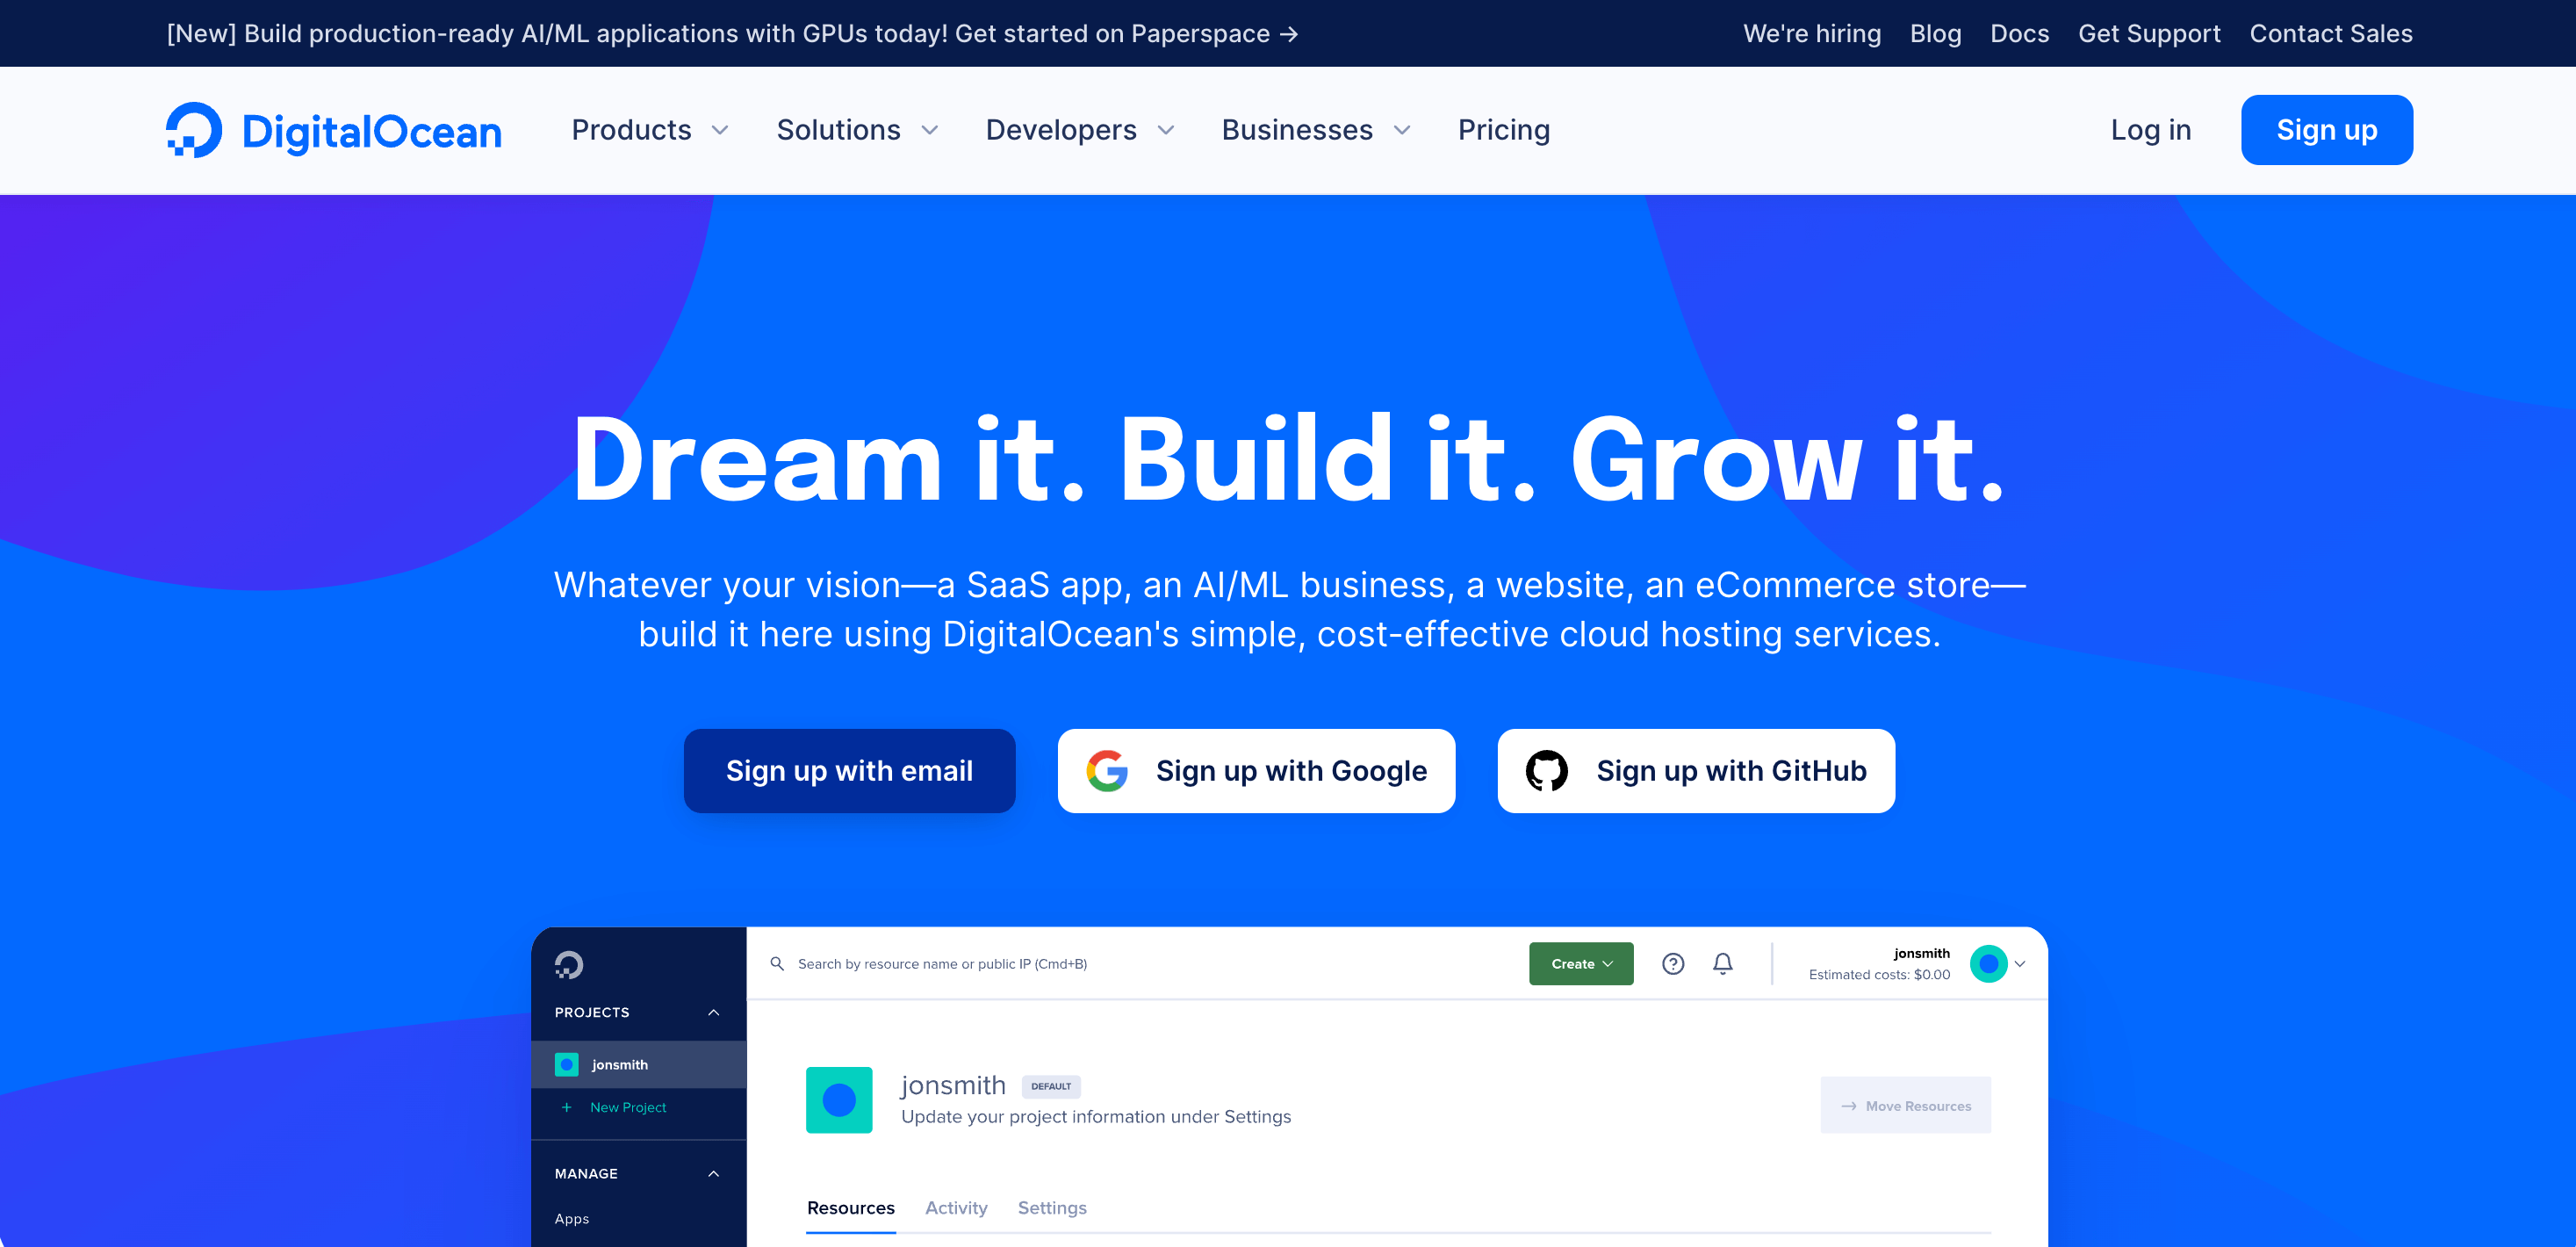
DigitalOcean for Server Hosting
DigitalOcean has been my go-to choice for hosting servers. I appreciate its simplicity and ease of managing the services it provides. While there are cases where it may have some limitations, in the vast majority of situations, it just works. Additionally, DigitalOcean offers competitive pricing, making it a cost-effective solution for hosting servers. Earn $200 on DigitalOcean to get started here.
To simplify the setup of my servers on DigitalOcean, I rely on Laravel Forge.
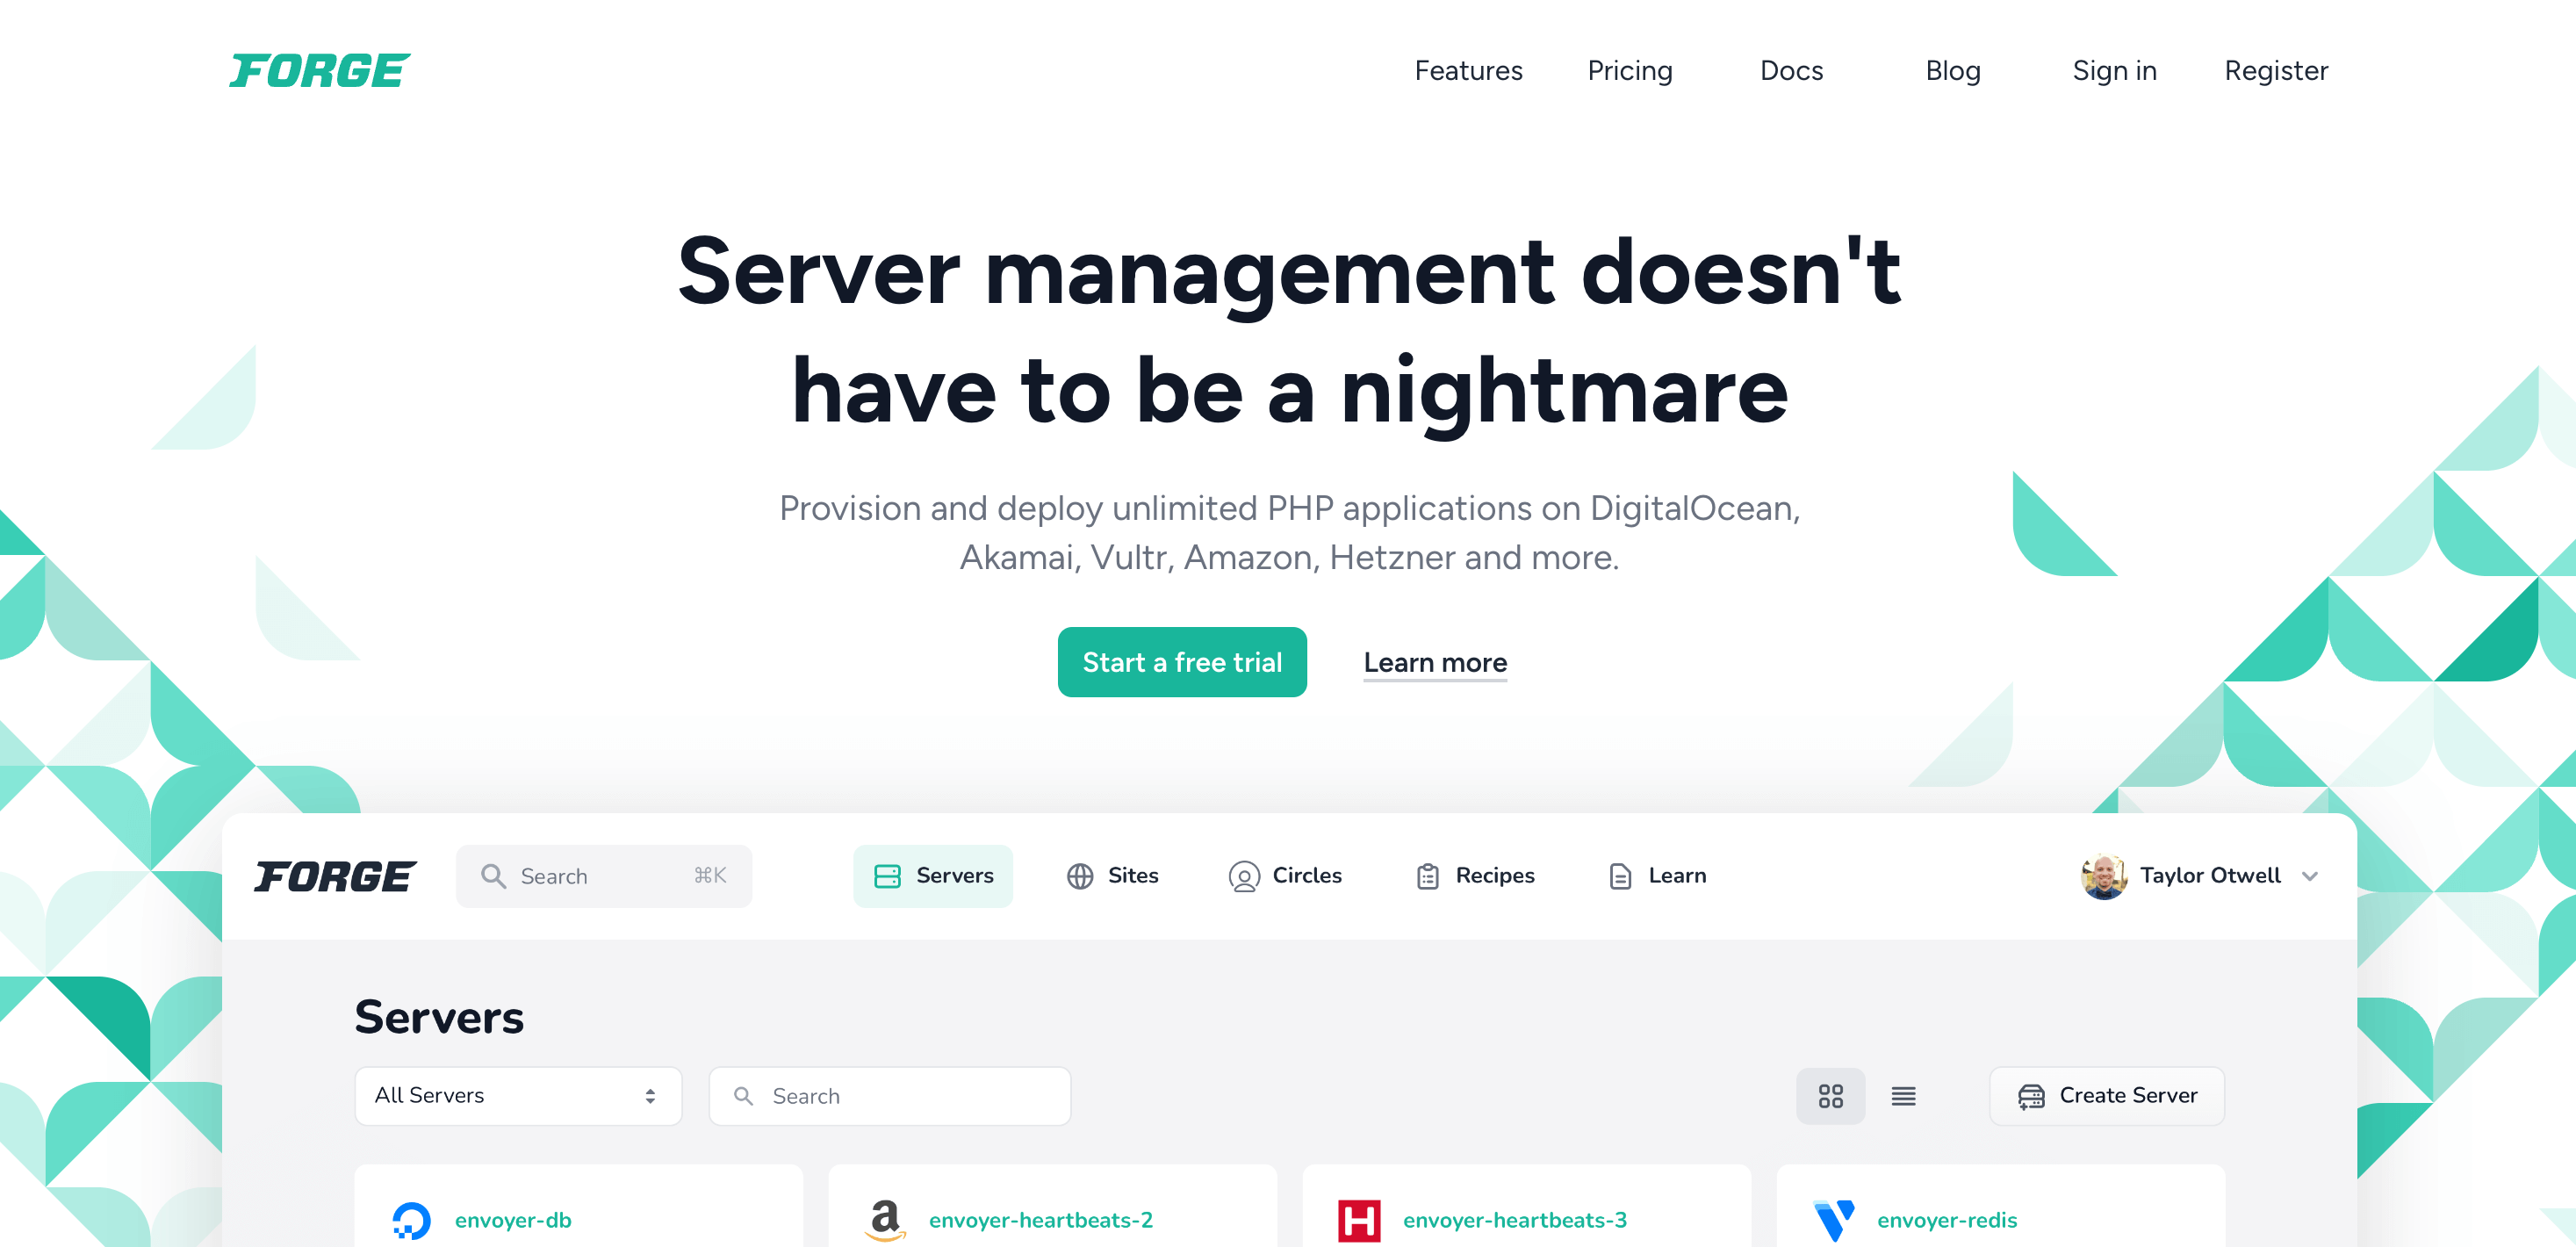
Laravel Forge for Server Provisioning and Management
Laravel Forge has been a game-changer when it comes to provisioning and managing servers for Laravel applications. It simplifies the entire process, from server setup to deployment and configuration. With Laravel Forge, I can easily deploy my Laravel applications to various cloud providers like DigitalOcean, AWS, or Linode.
I appreciate that Laravel Forge offers features such as server provisioning, automated deployment, SSL certificate management, server monitoring, and database management. It makes setting up and deploying applications a breeze.
However, when it comes to zero-downtime deployments, Laravel Forge doesn't natively support it. That's where Laravel Envoyer comes into play.
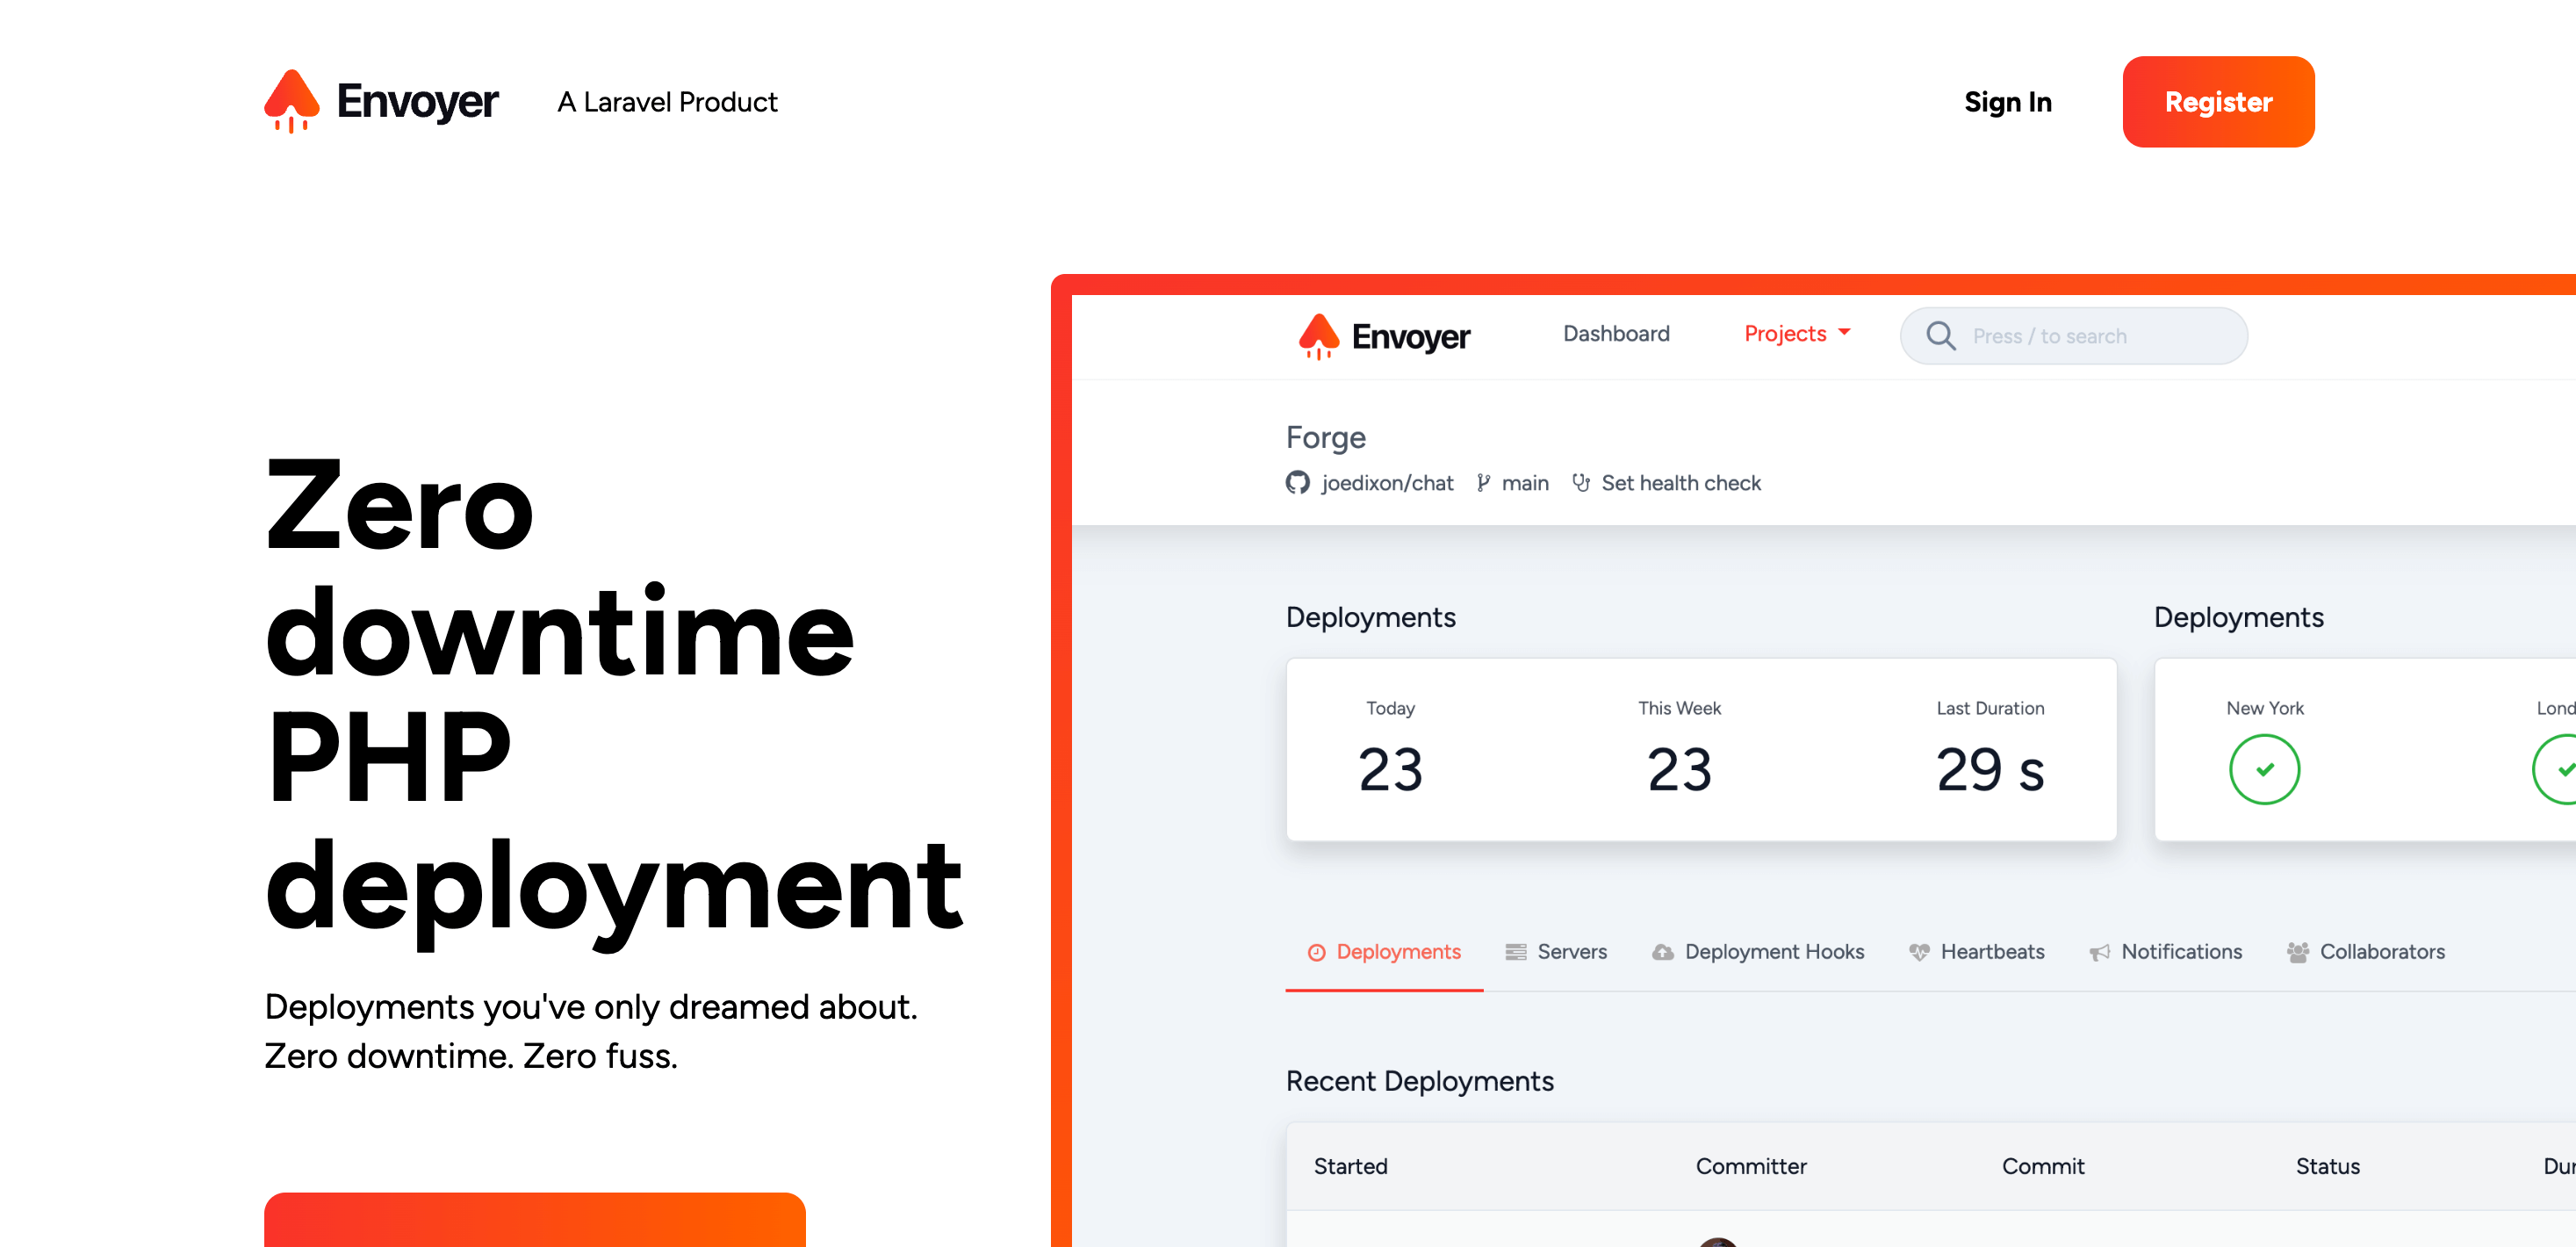
Envoyer for zero-downtime deployments
Envoyer has been an invaluable tool for achieving zero-downtime deployments of my Laravel applications. When deploying a new version of my app, Laravel Envoyer creates a new release folder and runs a set of defined actions called deployment hooks. If everything goes smoothly, it automatically switches from the old version to the new one, ensuring a seamless transition for users. In case of any issues, Laravel Envoyer prevents the switch, minimizing the impact on users.
This ability to roll back to a previous version of my application has saved me on numerous occasions. With Laravel Envoyer, I can confidently deploy updates and new features without worrying about disrupting the user experience.
Recently, the Laravel team released a new feature that integrates Laravel Forge with Envoyer, making it even easier to set up zero-downtime deployments. You can find more details about this exciting update on Laravel's blog.
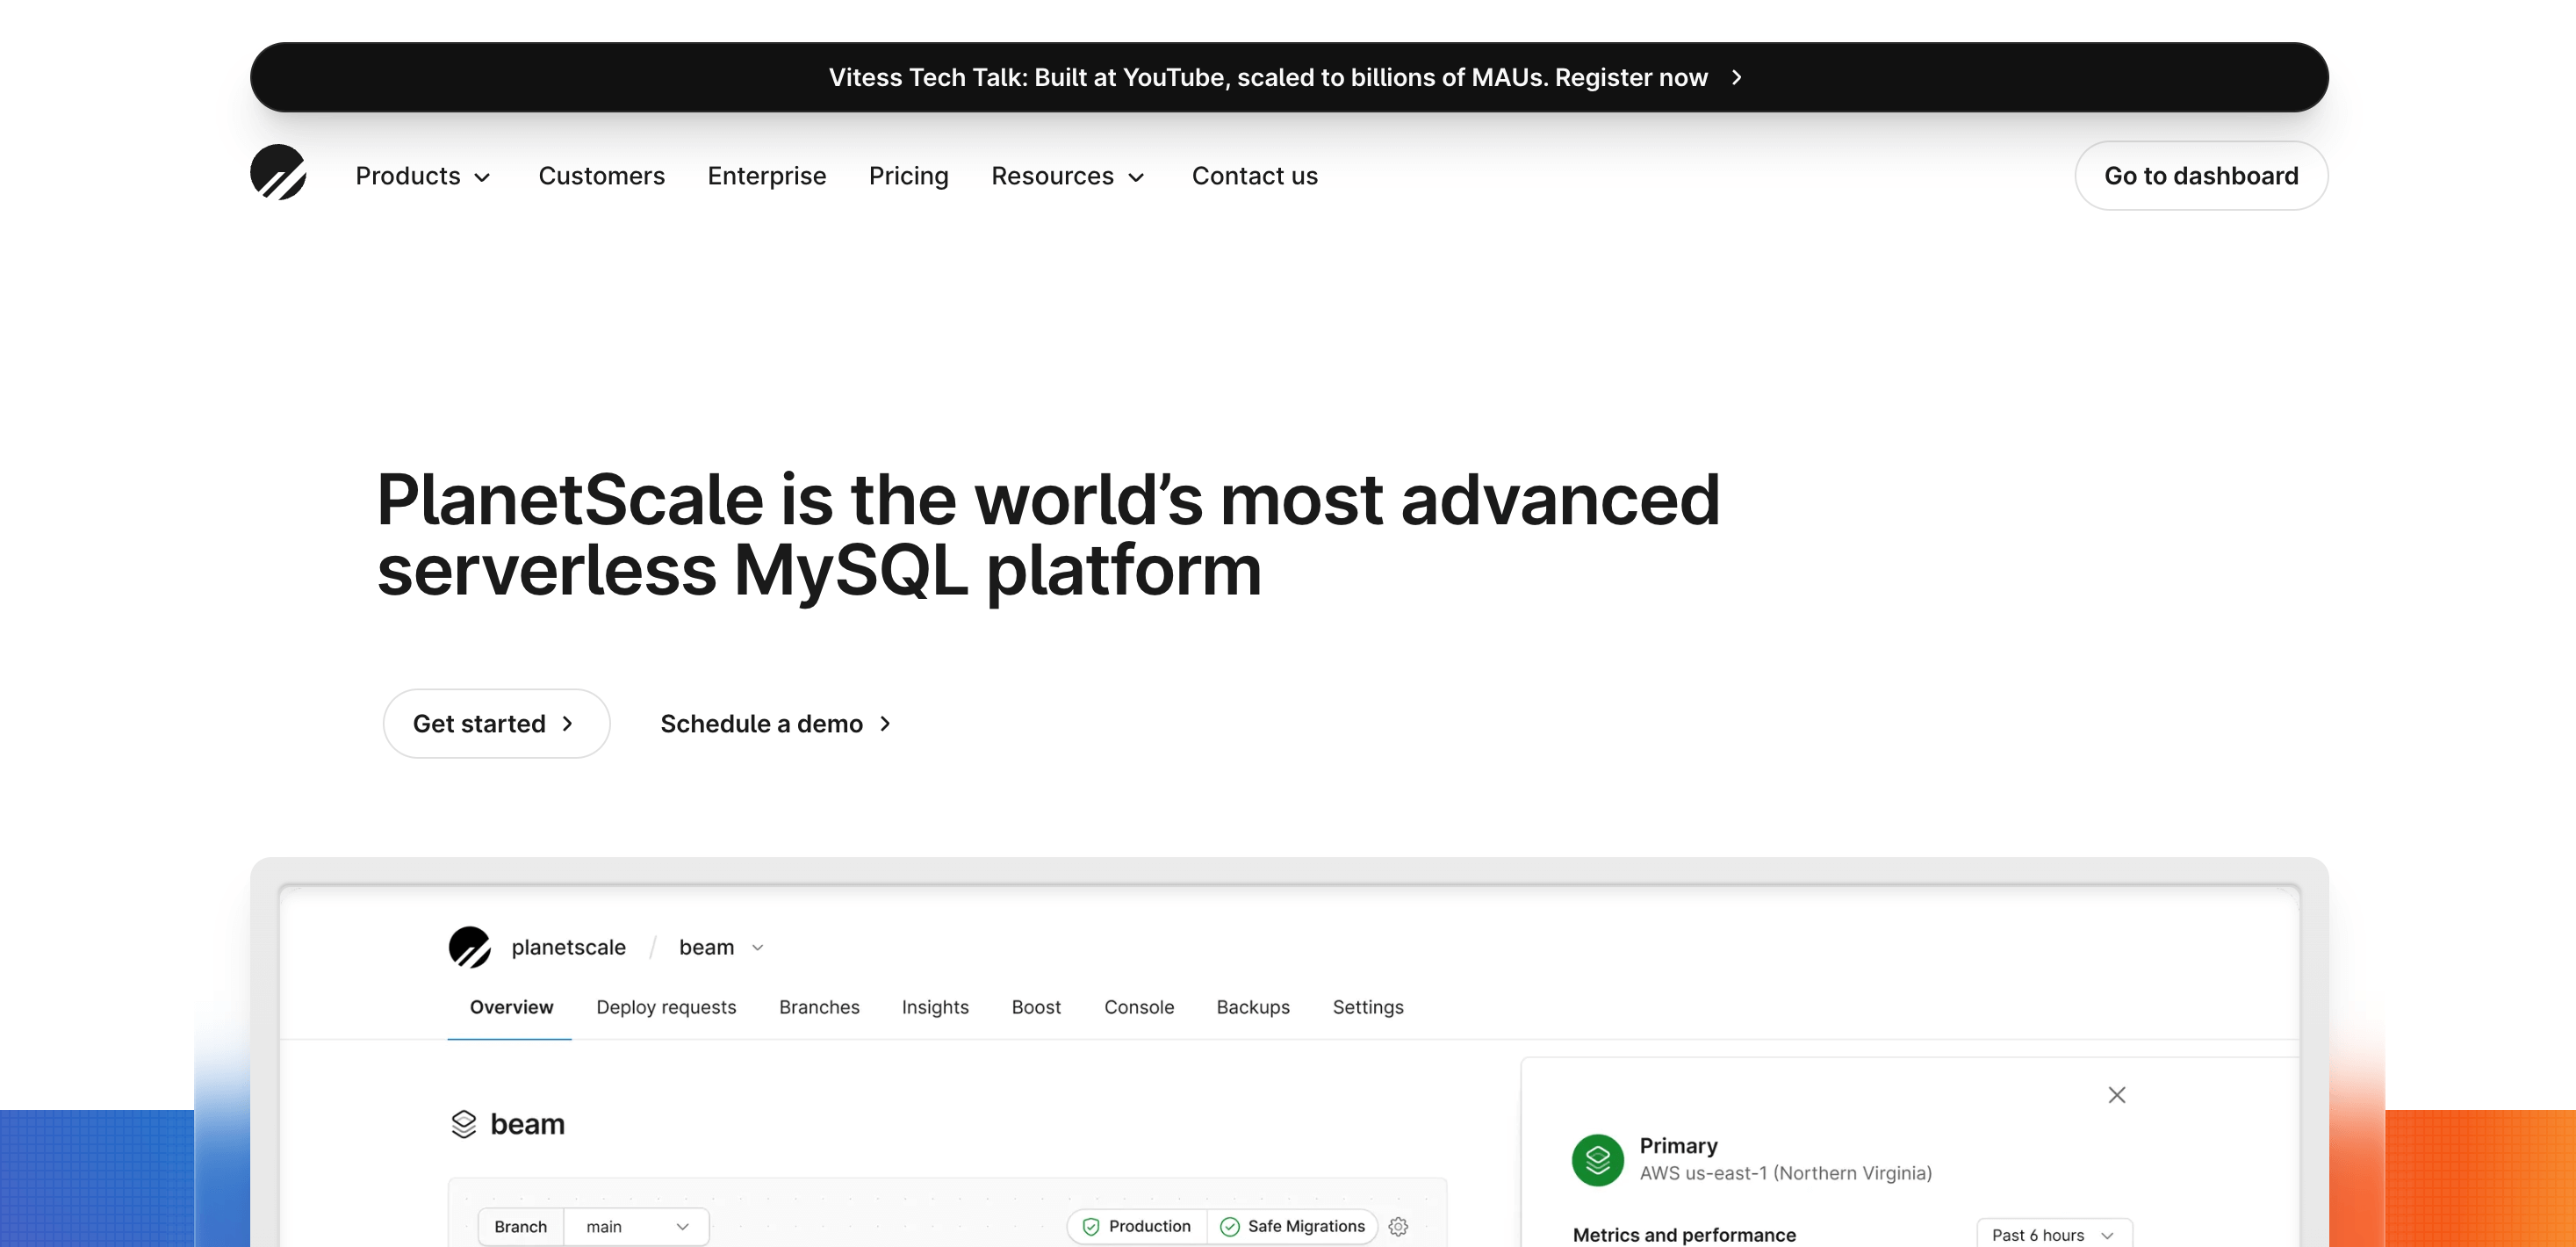
PlanetScale for the DB
Laravel forge make it very easy to setup and deploy your application. But, I don’t like to install everything in the server, because if the project grows, you’ll have some scaling issues. So, one think I like to keep separated is the DB, so it’s easier to escalate when needed. Also, if for some reason your server fails, your database doesn’t go with it.
When it comes to database hosting, I've found PlanetScale to be an excellent choice. It is a cloud-native, horizontally scalable database service that handles the management and scaling of relational databases at a global level. PlanetScale's compatibility with MySQL and its horizontal scalability make it an ideal solution for globally distributed applications that require high scalability, low latency, and high availability.
The features I particularly appreciate are:
- Data branching: You can create a development or staging environment for your database pre-seeded with data and schema, basically you can have an isolated copies of your database that include both the schema and data.
- Schema diff: You can review schema changes, like you would do it on git with your code!
- Deploy requests: You can deploy schemas to production with no locking or downtime, how cool is that! basically you can do changes on your DB without directly affecting your users.
- Schema revert: You can rollback to a previous schema if something goes wrong, and without data loss.
- Insights: Database performance metrics that are really useful for finding slow queries, locks on a table, etc.
- Serverless: This is one of the most interesting feature because the database is the one that can limit your application’s performance when your application rapidly grows, and it’s one of the more painful issues to deal with on production.
DigitalOcean managed Redis Data store
A similar thing happens with Redis or Memcached. Laravel Forge makes it very easy to install them in the server. But, it’s better to have them as a separated service.
To handle caching and queue connections, I rely on DigitalOcean's Managed Redis service. It simplifies the administration of my Redis instances, allowing me to focus on building my application. With features like point-in-time recovery, automated failover and failback, and logging and metrics dashboard, DigitalOcean Managed Redis provides a reliable and hassle-free solution for my caching and queue needs.
Resend for sending emails
Resend caught my attention as an email service provider because of its API-first approach. They offer an SDK for Laravel that allows me to use it as a mail driver or make API calls using their facade. With Resend, I have found a first-class developer experience, including features like test mode, modular webhooks, and the ability to develop emails using React. Webhooks have been particularly useful for receiving events like email opens, clicks, and bounces, providing valuable analytics directly within my platform.
DigitalOcean Spaces as file storage
DigitalOcean Spaces is my preferred option for file storage. It is a S3 like object storage service that allows me to store and manage large amounts of unstructured data, such as images, videos, backups, and log files. With its simplicity, scalability, and cost-effectiveness, DigitalOcean Spaces meets my needs for storing and managing files in a reliable manner. The straightforward API, scalability, access control, and integration with other DigitalOcean services make it a solid choice for file storage.
Fathom Analytics for Privacy-Focused Analytics (Optional)
Fathom Analytics has been my go-to analytics tool for its privacy-focused approach and simplicity. It prioritizes user privacy by collecting minimal data and not using cookies or tracking individual users. With features like visitor metrics, goal tracking, real-time reporting, and a self-hosted option, Fathom Analytics provides essential insights into website visitor behavior while respecting user privacy.
By utilizing these tools and services based on my personal experience, I have streamlined the deployment and management of my Laravel applications. Each tool serves a specific purpose and addresses common requirements, helping me deliver efficient, reliable, and privacy-conscious solutions.
Cost to Get Started
Based on my personal experience working on various projects, I've learned that it's important to consider the future growth of your application. However, it's completely fine if you decide not to use certain tools like Envoyer, a managed Redis instance, or DigitalOcean Spaces. Each project is unique, and you have the flexibility to choose the tools that best fit your specific needs and budget. The key is to make informed decisions that align with your project's goals and requirements.
All these tools are really cool, but let's take a moment to talk about the cost. We need to define a minimum monthly budget for our application.
DigitalOcean Server:
Based on my experience, I recommend at least 2 virtual CPUs and 2GB of RAM for smooth operation. Having fewer resources may cause issues, especially when building assets. I've encountered errors during npm run build on production due to insufficient memory. So, for a DigitalOcean droplet with these specifications, the cost is approximately $18/month.
Laravel Forge:
If it's just you, with one server, you can start with the Hobby plan at $12/month. However, I strongly recommend the Growth plan at $19/month because it allows you to have multiple servers, and trust me, you'll likely end up with multiple servers.
Envoyer:
To get started with Envoyer, you can choose the Basic plan at $10/month, which allows you to create up to 10 projects. That should be sufficient for your initial needs.
PlanetScale:
You can start using PlanetScale for free, and as you grow, you can select the Scaler plan at $29/month.
Digital Ocean Redis Instance:
The basic plan for a DigitalOcean Redis instance starts at $15/month, which is enough to get started.
Resend:
Similar to PlanetScale, you can start using Resend for free, and when you're ready to scale, you can begin with the $20/month plan.
DigitalOcean Spaces:
For file storage, DigitalOcean Spaces offers plans starting at $5/month.
Fathom Analytics:
Fathom Analytics offers plans starting at $14/month.
So, how much for everything?
Now, here's the breakdown for the cost of your first Laravel application in production... drumroll please! 🥁
$81/month
Keep in mind that tools like Forge, Envoyer, Resend, and Fathom Analytics can be used for multiple projects. So, the cost per project will be lower.
Remember, these are the minimum costs to get started, and as your application grows, you may need to adjust your budget accordingly. But for now, you're all set to launch your Laravel application with confidence!
One of the examples that uses these services is Moonguard's website, which is a set of tools to help you monitor your Laravel apps in production and debug your applications in development.
Conclusion
Congratulations on gaining a clear understanding of deploying your Laravel application to a production environment! By following the steps outlined in this article, you can save time and effort while avoiding common pitfalls.
We discussed the common requirements for deployment and recommended tools and services to assist you. DigitalOcean, Laravel Forge, Laravel Envoyer, PlanetScale, DigitalOcean Managed Redis, Resend, DigitalOcean Spaces, and Fathom Analytics are all valuable resources to consider.
Keep in mind the estimated minimum monthly budget of $81/month for your first Laravel application in production. As you grow, you may need to adjust your budget and explore additional tools.
Now, armed with this knowledge, confidently release your Laravel application, showcase your skills, and enjoy your journey as a full-stack developer!
In the upcoming article, I'll dive into the detailed process of setting up your server using the tools and services I've shared with you today.
